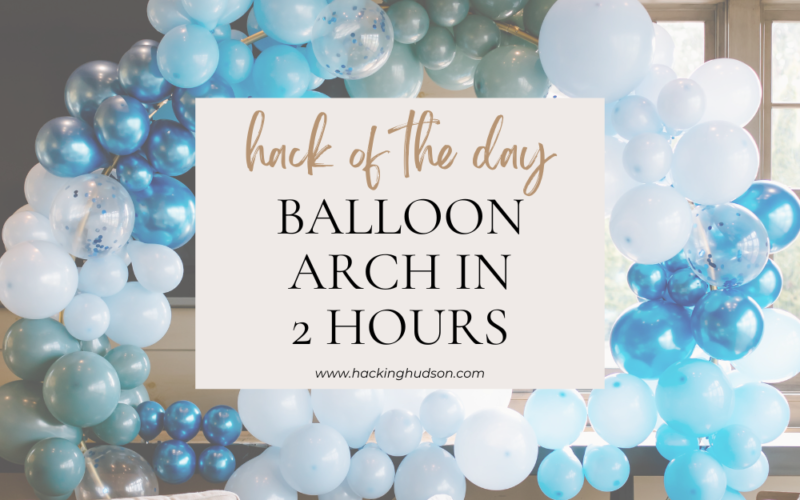
How to Create a Balloon Arch in less than 2 hours
I’ve come to be a firm believer that Balloon arches are an acquired skillset. I started doing balloon arches for any baby or bridal showers I threw and this translated over to my kids birthdays. Every time I get a little bit better at it, and this time I unlocked the ultimate balloon arch hack: the metal frame ring.
Here’s 3 things you need to set up a balloon arch that will stay up, and stay put:
- Electric balloon inflator: arguably the best $10 I’ve ever spent on Amazon Warehouse. I have this one, but if it’s out of stock, this one looks pretty similar functionality wise and bonus, had a coupon on it at the time of this writing.
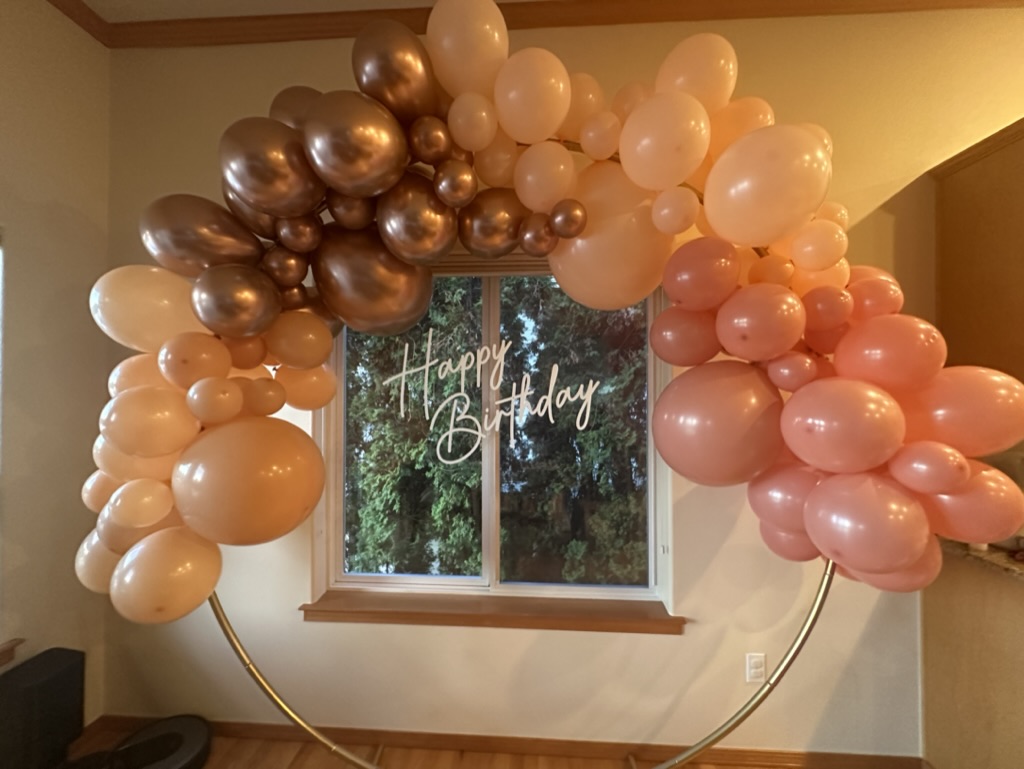
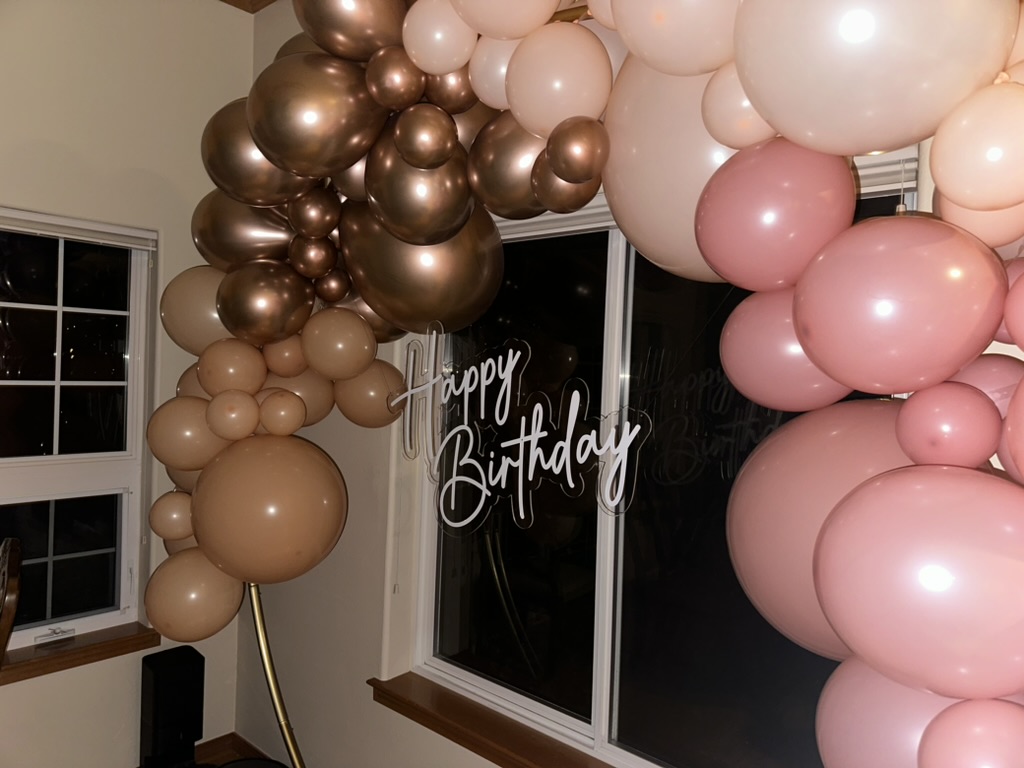
- Balloons: There are tons of balloon sets on Amazon to choose from. Make sure the come with the plastic strip to put the balloons in for easy hanging. Here’s the set I have pictured for Charlie’s first birthday.
- Circle Arch Frame: this was the key to a super easy setup and my first time using a ring. In previous arches, I used wizardry of blue tape, knots and ties to come in the next morning to half on the ground. I have the 7.2ft one here.

Process: I blow up all the balloons first, then use blue tape to tape the end of the included balloon ribbon to my counter and add a balloon at a time to the ribbon until 90% of the balloons are on there. Then I zip-tie or tie up the ribbon to the frame and use tape or the glue dots to add the remaining balloons as “fillers”.

Bonus: a super cute custom sign like this Happy Birthday acrylic sign is available on Etsy


Happy Hacking!
